Minecraft Clone
Honestly I’m surprise I haven’t created something of a Minecraft clone already. I originally just wanted to play around with more in depth graphics programming (in 3D specifically) and prior to this I had only ever used Processing and p5.js’s 3D rendering capabilities, as well as Three.js for a cool basic online multiplayer game. Obviously these come with the benefits of JavaScript, but sadly,they also come with the drawbacks of JavaScript (or Java in the case of Processing). Because of this and a desire to improve my handle on the C++ standard lib, STL and language in general, I decided between OpenGL or Vulkan, which led me to pick OpenGL almost arbitrarily. I’ve heard a lot about the two previously, and from my limited research I found that Vulkan was more “low-level” than OpenGL and therefore could get more performance squeezed out of it, but still it was harder and this was my first time being in the weeds of graphics programming, so I thought I’d make things easy for myself and switch later if I felt I needed to.
At this point, the people of reddit praised learnopengl.org so I followed it’s tutorials, and would recommend it, or it’s physical bool version, to anyone interested in dipping their toes. Either way, I got through the basics of rendering and started to figure out how I would put together a little Minecraft simulation, which I ended up deciding to call Mingleburb for no reason other than I thought it was funny.
First, what do I want to happen with this little experiment:
- I want to be able to render blocks of different textures with culled faces (more on that later)
- Those blocks should be generated using Perlin Noise and held in chunks
- There should be free cam controls using the wasd and arrow key/mouse controls
- Blocks should be removable and placable by the player relative to where they look
- The entire project should be organized, from the make files, to the encapsulation of classes
World Data (pt.1)
The first and easiest bit to tackle was the creation of rendered blocks, and to do this I started by just creating a simple block struct that held some data. In my thinking, I wanted to hold the least amount of data possible for each block, and tried to make it’s footprint as small as possible. I’ll talk about the faces member variable later, but the others are pretty self explanatory, though they were modified later to be more efficient (as of now I’m being punished for fixing something that already worked as the entire simulation is bugged because of my memory greed T-T).
//  Block.hpp

struct Block {
    std::stirng texture; // Texture name for block
    unsigned char faces; // Which faces of the block are visible
    bool air; // Is this an air block

    Block() : air(true) {}
    Block(const char* textureName) : texture(textureName), air(false) {}
};
With that out of the way, these were simple stored in a c-style
3-dimensional array. Also at this point in the program, the entirely of
the code base was 1 main.cpp file, and so I create a much nicer
structure consisting of an App class that holds the Player, GameManager,
and GraphicsManager with some like player having their own smaller
classes like the Player’s InputManager. This made everything a lot more
organized, but this also began to become a little annoying. In C++, they
way I learned to develop object oriented programs was to write a .h or
.hpp file to hold all the declarations of a class, then implement that
classes functions/constructors/whatever else in a separate .c or .cpp
file. This is fine, but I wish it was easier to make edits in a .cpp or
.hpp file and not have to make essentially the same changes in another
files just so they agree with each other. I understand the appeal of
header files but I just find this specific aspect annoying. Besides the
point, with a structured code base the first major task I wanted to
tackle was player input. This became pretty easy as I was using GLFW for
my window creation and writing an InputManager based on callbacks and
events was something I’ve done countless times in JavaScript DOM with
functions like
window.createEventListener("keydown" (e) => { handleInput(e) };.
Player Controls
This proved to have two main challenges. First, I was completely
ignorant to callbacks in C and C++, and for some reason didn’t just
Google it like any normal person, instead just messing around with
global variables and gross c-style type casts until something worked.
After that was more or less solved, I was onto camera movement. There
are 3 directions I needed to concern myself with. And the way camera
rotation functions in OpenGL is you give the camera a position for
itself, and a position to look at. To combat this I just kept track of
the pitch and yaw with variables in the Player class, and added a unit
vector to the camera position according to those angles to give the
camera the correct position. After some struggling this turned out as so
lookDir = glm::normalize(glm::vec3(std::cos(yaw), std::tan(pitch), std::sin(yaw)));
(glm being a math library for constructs such as vectors, quaternions
and matrices commonly used to interface with OpenGL and GLSL shaders).
With that done, I just attached these rotations to change when the arrow
keys are pressed via the Player’s InputManager class and would also
attach these variables to the change in mouse position to give mouse
controls which are toggle-able via the Globals.hpp file. As far as
camera translation goes, it really is just some similar trigonometry. We
need to translate local movement to global movement.
This means if I press w I want the player, from it’s perspective to move
forward, or increase it’s z position. But because the player can
manipulate its pitch rotation, meaning that increasing the player’s
local z almost never translates directly to changing its global z.
Therefore we increase the players global z by the
std::cos(yaw) * z + std::cos(yaw + PI / 2) * x in the world
x direction, where the x and y in that equation represent the player’s
local translation. This extends to
std::sin(yaw) * z + std::sin(yaw + PI / 2) * x in the world
z direction, and y is just directly mapped from local to world
translation.
Face Culling
Next up was face culling, which tells the renderer to only draw faces
that the player is able to see to the screen. This effectively
means if a block is next to another block, don’t draw either of the
faves that touch, that also means that we only really render the
surfaces that touch air blocks on the surface (the surface being at y =
5 on a 10 x 10 x 10 “chunk”). This came with A LOT of segmentation
faults that I had not the foggiest idea on how to debug. I eventually
found the program GDB which is used to help debug c and c++ programs (I
think) and was able to at least get the callstack before the segfault
occurred. Still these remained insanely difficult to debug and iron out
and a lot of considerations had to come into play. First I had to deduce
how to tell OpenGL to render a block with missing faces, which was
actually the majority of the blocks in the world. I came up with using
an unsigned char to store each face. One pattern I decided
on early is that if I had to refer to each axis in the 3D world or the
faces of a cube, it would always follow the order of
+x, -x, +y, -y, +z, -z to keep consistency. This turned
into flipping 6 of the 8 bits in an unsigned char according
to which faces of that Block should be rendered. I really liked my
solution to this and in the following code snippet, in the
char, any of the first 6 bits containing a 1 indicate that
its corresponding face should not be rendered. We set those
bigs with the bitwise or operator (‘|’), and choose which bit to assign
by bitshifting the the binary 0x10000000 to the right corresponding to
the face index. One thing to note, getBlock will return ‘nullptr’ if the
requested block is out of bounds, and a Block* with an
id of 0 if the block represents air (also air is skipped in
the rendering process) Now the actually face culling:
void GameManager::cullFaces(int x, int y, int z) {
        Block* block = getBlock(x, y, z);
        unsigned char faces = 0;
        if(block == nullptr || block->id == 0) return;
        Block* dirs[6] = {
                getBlock(x + 1, y, z),
                getBlock(x - 1, y, z),
                getBlock(x, y + 1, z),
                getBlock(x, y - 1, z),
                getBlock(x, y, z + 1),
                getBlock(x, y, z - 1),
        };

        for(int i = 0; i < 6; i++) {
                unsigned char f = 0b10000000 >> (i);
                Block* b = dirs[i];
                if (b == nullptr || (b != nullptr && b->id != 0)) {
                        faces = faces | f;
                }
        }
        faces = ~faces;

        block->faces = faces;
}
Block Highlighting
The id that I mentioned also keeps track of the texture
to be applied to each block, which are loaded using
(stb_image)[https://nothings.org/stb], and textured onto each face of
the block. Additionally there’s functionality for highlighting the block
that the player is looking at. Currently I have a “naive” approach,
depending on how you look at it, of creating a vector that essentially
points what direction the player is looking, and is scaled up depending
on the players viewDistance. Once this reach vector is
created, we lerp across the the reach vector, adding the players
position. For each stage of the lerp, we round the currently checked
point to the nearest integer and attempt to get a block at that point.
If the result is not nullptr or an air block, that is the selected
block, the lerp stops, and we tell the block to highlight itself in the
next render. This code comes out to look like this, and I will talk
about why this is a naive approach in my opinion.
void Player::castBlockRay(GameManager* gameManager) {
        Block* block;
        // a is the interpolation values
        // 100 equally spaced vectors to test between the player and its max reach
        for(float a = 0; a < 1.0f; a += 0.01f) {
                // the actual lerping
                glm::vec3 reach(
                        position.x + (lookDir.x * viewDistance) * a,
                        position.y + (lookDir.y * viewDistance) * a,
                        position.z + (lookDir.z * viewDistance) * a
                );
                // round and test for a block
                block = gameManager->getBlock(
                        int(reach.x + 0.5),
                        int(reach.y + 0.5),
                        int(reach.z + 0.5)
                );
                if(block != nullptr && block->id != 0) {
                        selectedBlock = block;
                        selectedBlockCoords = glm::vec3(
                                std::floor(reach.x + 0.5),
                                std::floor(reach.y + 0.5),
                                std::floor(reach.z + 0.5)
                        );
                        return;
                }
        }
        selectedBlock = nullptr;
}
One limitation I’ve found with this method is that it can be inaccurate and miss blocks. Say the player is looking at the corner of a block and the ray from the players view begins to march forward to its max reach. If the lerped vector increases by too big a step at the corner, or edge, of the block it may skip past and the effect would be as if the player is highlighting a block that is behind the actual block they are looking at. Although this can be solved easily by simply testing more vectors between the player’s position and the max reach, it still leaves one issue unresolved. With this method we cannot deduce what side of the block the player is looking at (reliably). One method could be that we record the distance that the ray is able to travel before it reaches a block, then afterwards cast another ray with a slight rotational offset so it lands a bit to the right of the first. With this we might be able to find the angle which the two collision points lie on and possible deduce what face the player is looking at but this comes with a lot of edge cases and inefficiencies. The other option is a method that is almost identical to the method I used in my Wolfenstien style Terminal renderer, where rays are cast and step across each axis by integer values and testing which of the 2 axis rays travel the least, and which blocks they collide with. In short, this will be able to give a concrete distance for how far the player’s view ray is able to travel, and which side of the block that ray collides with, based on which axis ray it finds the closest. Though like many things I get the feeling there are far easier to implement and just as effective methods that I haven’t thought of. One idea I got from Dr. John R. Kender was to keep my eyes on the actually painting step of the graphics pipeline. What he suggested was to find which face quads are drawn in the center of the screen and, using the depth buffer, which face is the closest. I think this is a fantastic idea, but as it stands I’m unsure how to get information from the GPU’s GLSL shader code back to the CPU’s c++ side of things. So for now I’m going to leave this issue unresolved and perhaps return at a later date. If you have any ideas on how to implement this, I would love to hear them, so please feel free to e-mail me at hdiambrosio@gmail.com.
Project Organization
Coming into this the most “project organization” I did was throwing everything in a src folder and calling it good. But I took a different approach for this little experiment and really wanted to get to know the common tools of c++ better: those being make and gdb. I knew what make did and the basics of getting a project compiled but several things were missing that I needed. First, as this project grew bigger, and especially when I started to add more 3rd party libraries, having to compile those every single time I made even the smallest of changed grew annoyingly slow, ESPECIALLY on my school’s Chromebook where I programmed most of this. That being said I knew it was possible to only compile files that had changed, and after a quick video about the basics of make, I found this:
./obj/%.o: %.cpp
    $(CPPC) $(CPPGLAGS) $(WARNINGS) -c -o $@ $^
There was some more moving parts to the real makefile, but this is
main attraction, where I essentially tell make that if it needs any sort
of object file that isn’t already compiled into an object file, go
compile just that file and continue. What this also allows is the
skipping of compiling files that have not changed since the last run of
make. Finally, a friend of mine squibid
suggested I use the shell command
pkg-config --libs --cflags glfw3 so that I could get the
proper names of the library files I had to link to. This removed the
need for me to change the makefile weather I was programming on my
desktop running Void Linux, or my Chromebook running Debian, which both
have different names for the glfw library files. This improved the
workflow tremendously and I would have burn out of this project far
sooner if I hadn’t taken the time to at least learn the basics.
The other lifesaver for this project was gdb or the GNU Project
Debugger. This tool allows me to add a -g flag to my
g++ call and add debug information to the executable. Then
running gdb on the file allows me to run the file until I reach a
segmentation fault. The magic happens when I run backtrace
which then gives me the call stack before my code went wrong. THIS!!!
THIS GODSEND GIFT SAVED ME HOURS!!! Before gdb, I used to just comment
out code until I didn’t get segfaults, then try to puzzle out the issue,
only to get a completely unrelated segfault right afterwards. I still
get them quite often and were huge demotivators in the development of
Mingleburb but you live and you learn. Either way I want to become more
familiar with gdb in the future as it seems to have a lot of really
useful features like being able to see the values of local variables,
step through instructions, view Assembly outputs and use breakpoints in
code.
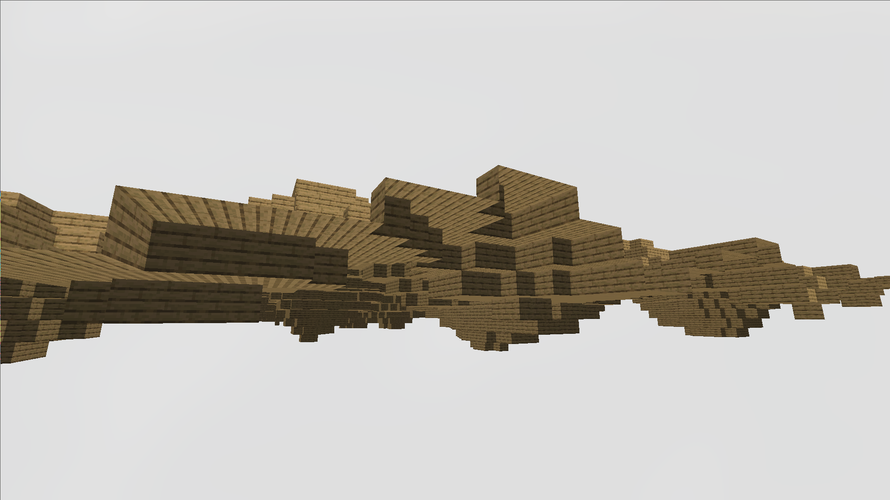
Gallery
Some simple terrain generation using basic perlin noise. 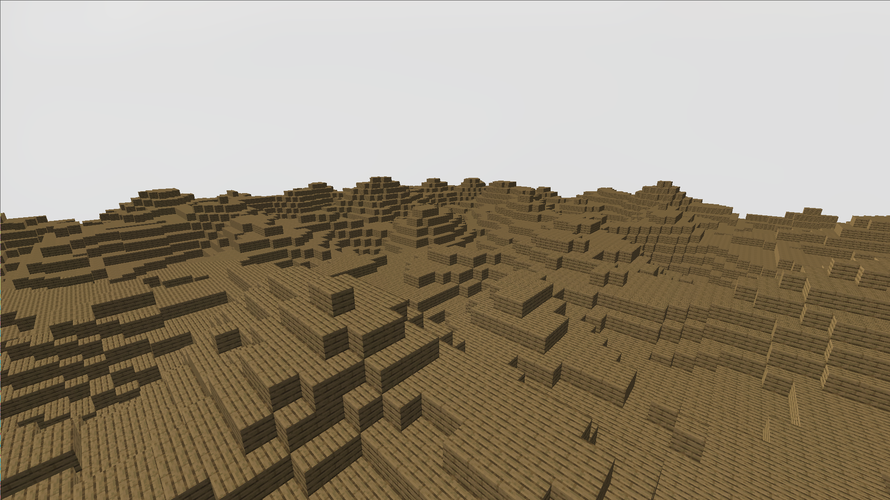 Differnt textured
blocks can be rendered with each other. A sea of pink wool with some
islands made of wood.
Differnt textured
blocks can be rendered with each other. A sea of pink wool with some
islands made of wood. 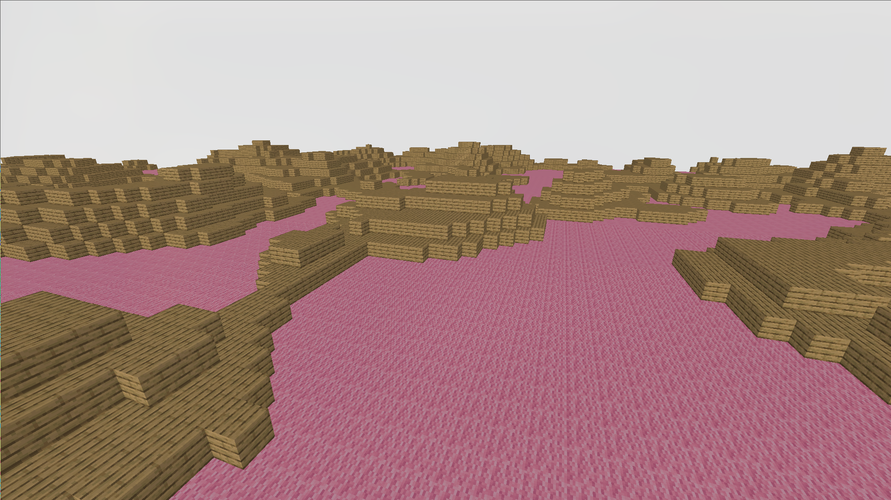 Blocks are culled
everywhere a player shouldn’t be able to see, in between two blocks,
from the void of the world.
Blocks are culled
everywhere a player shouldn’t be able to see, in between two blocks,
from the void of the world.